HiStruct Easy Guide: How to Use Roof Planes Modeling for Maximum Flexibility in Roof Design
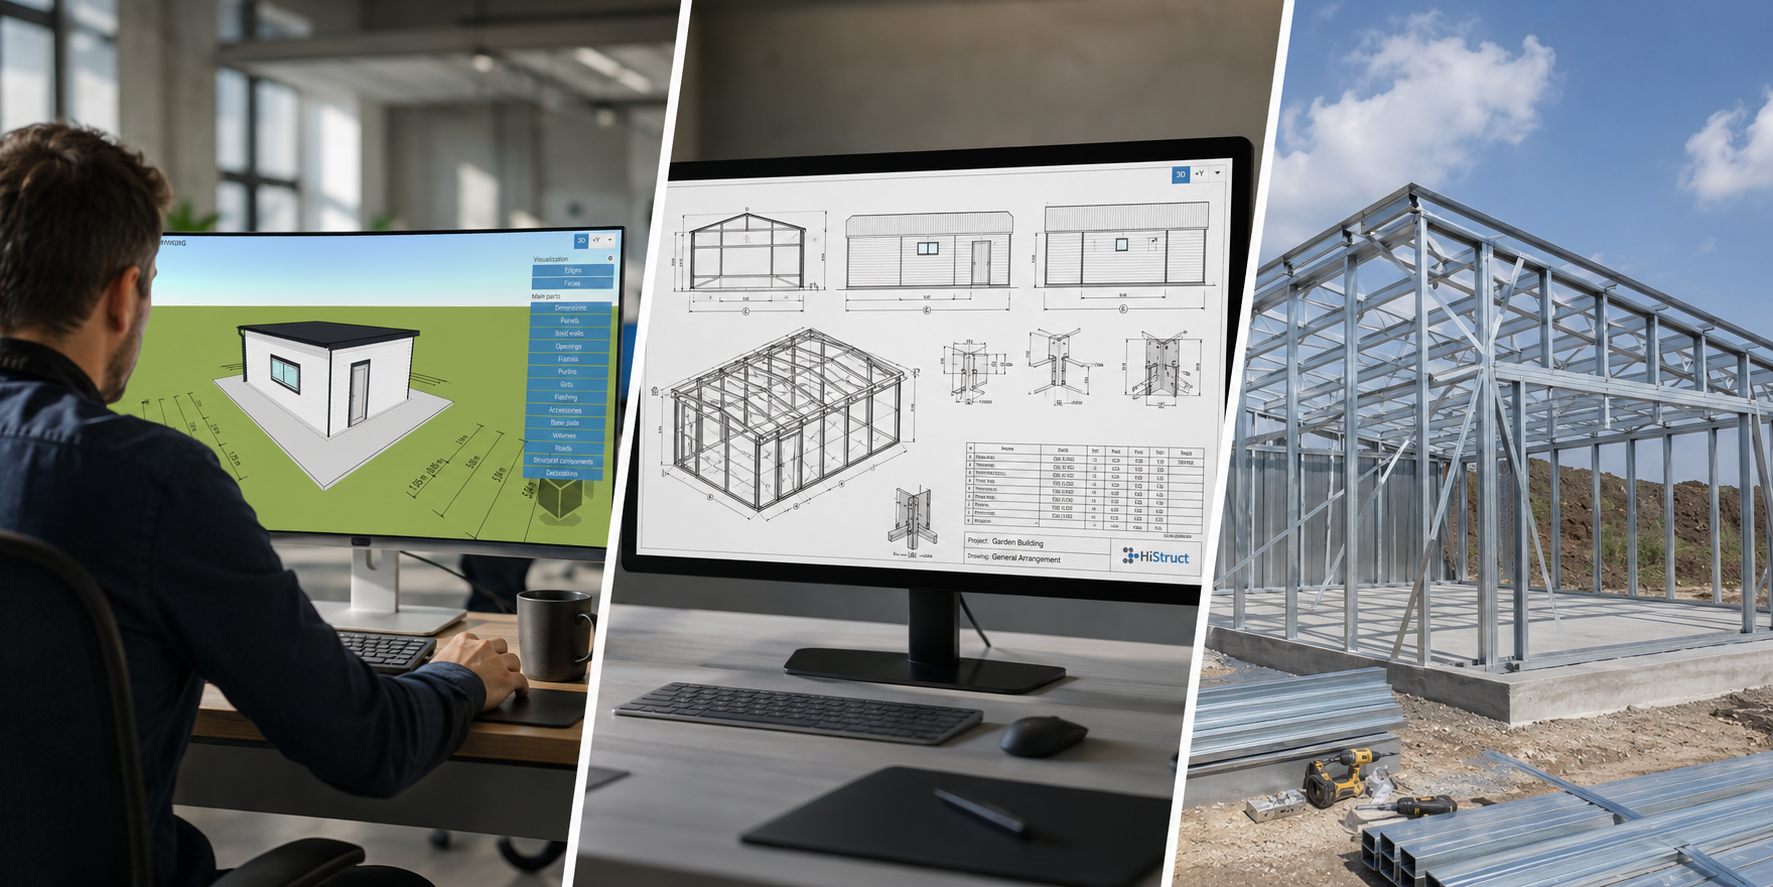
Roof modeling doesn’t have to be complicated or time-consuming. Whether you are a roofing manufacturer, distributor, or designer, with the HiStruct Roofs 3D configurator you can create even highly complex roofs within minutes. In this article, we’ll walk you through our Model by planes feature, introduced recently. This workflow lets you build roofs plane-by-plane, giving you maximum flexibility and precision in creating any roof geometry.
When to Use Roof Planes Modeling
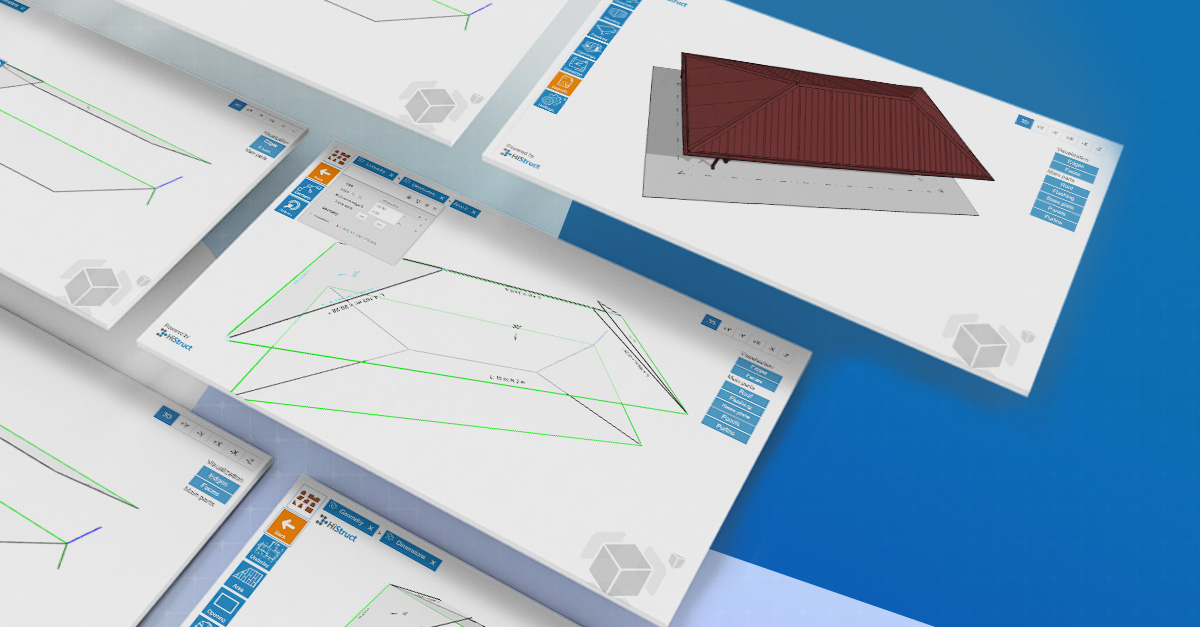
The HiStruct Roofs 3D configurator offers several methods for roof modeling. However, if you need to create a non-standard roof and achieve maximum precision without compromise, our new Model by planes workflow is the ideal choice. You literally build the roof from individual planes that connect seamlessly and merch the final geometry together.
How to Model Roof by Planes
You can watch the full workflow How to model roof by planes in HiStruct in our video tutorial. Below is a quick summary of each step:
1. Select the right modeling mode
- In HiStruct Roofs, open the Templates tab and choose Model by planes.
2. Activate the roof creation tools
The configurator window will open automatically. In the left panel, click Roof — and you're ready to start.
3. Draw the first roof plane
Click Plane, choose General, and draw the first roof surface.

4. Add additional roof planes
Continue using Plane → General to draw new roof planes.
- always start on the edge of an existing plane
- step by step, you will build the entire roof

5. Adjust individual planes and assemble the roof like a kit
Now you have all the planes drawn, but they may not align perfectly yet. Click a plane to open the settings window, where you can adjust its pitch and height. Sometimes, you may need to edit its shape as well.
This way, you can easily fine-tune each plane so they connect seamlessly.

6. Automatic detail generation
Once all planes are aligned and properly set, the configurator automatically generates all roof connections — ridges, hips, valleys — and adds flashings and gutter components.
The result is fast, accurate, and avoids errors that can occur with manual input.
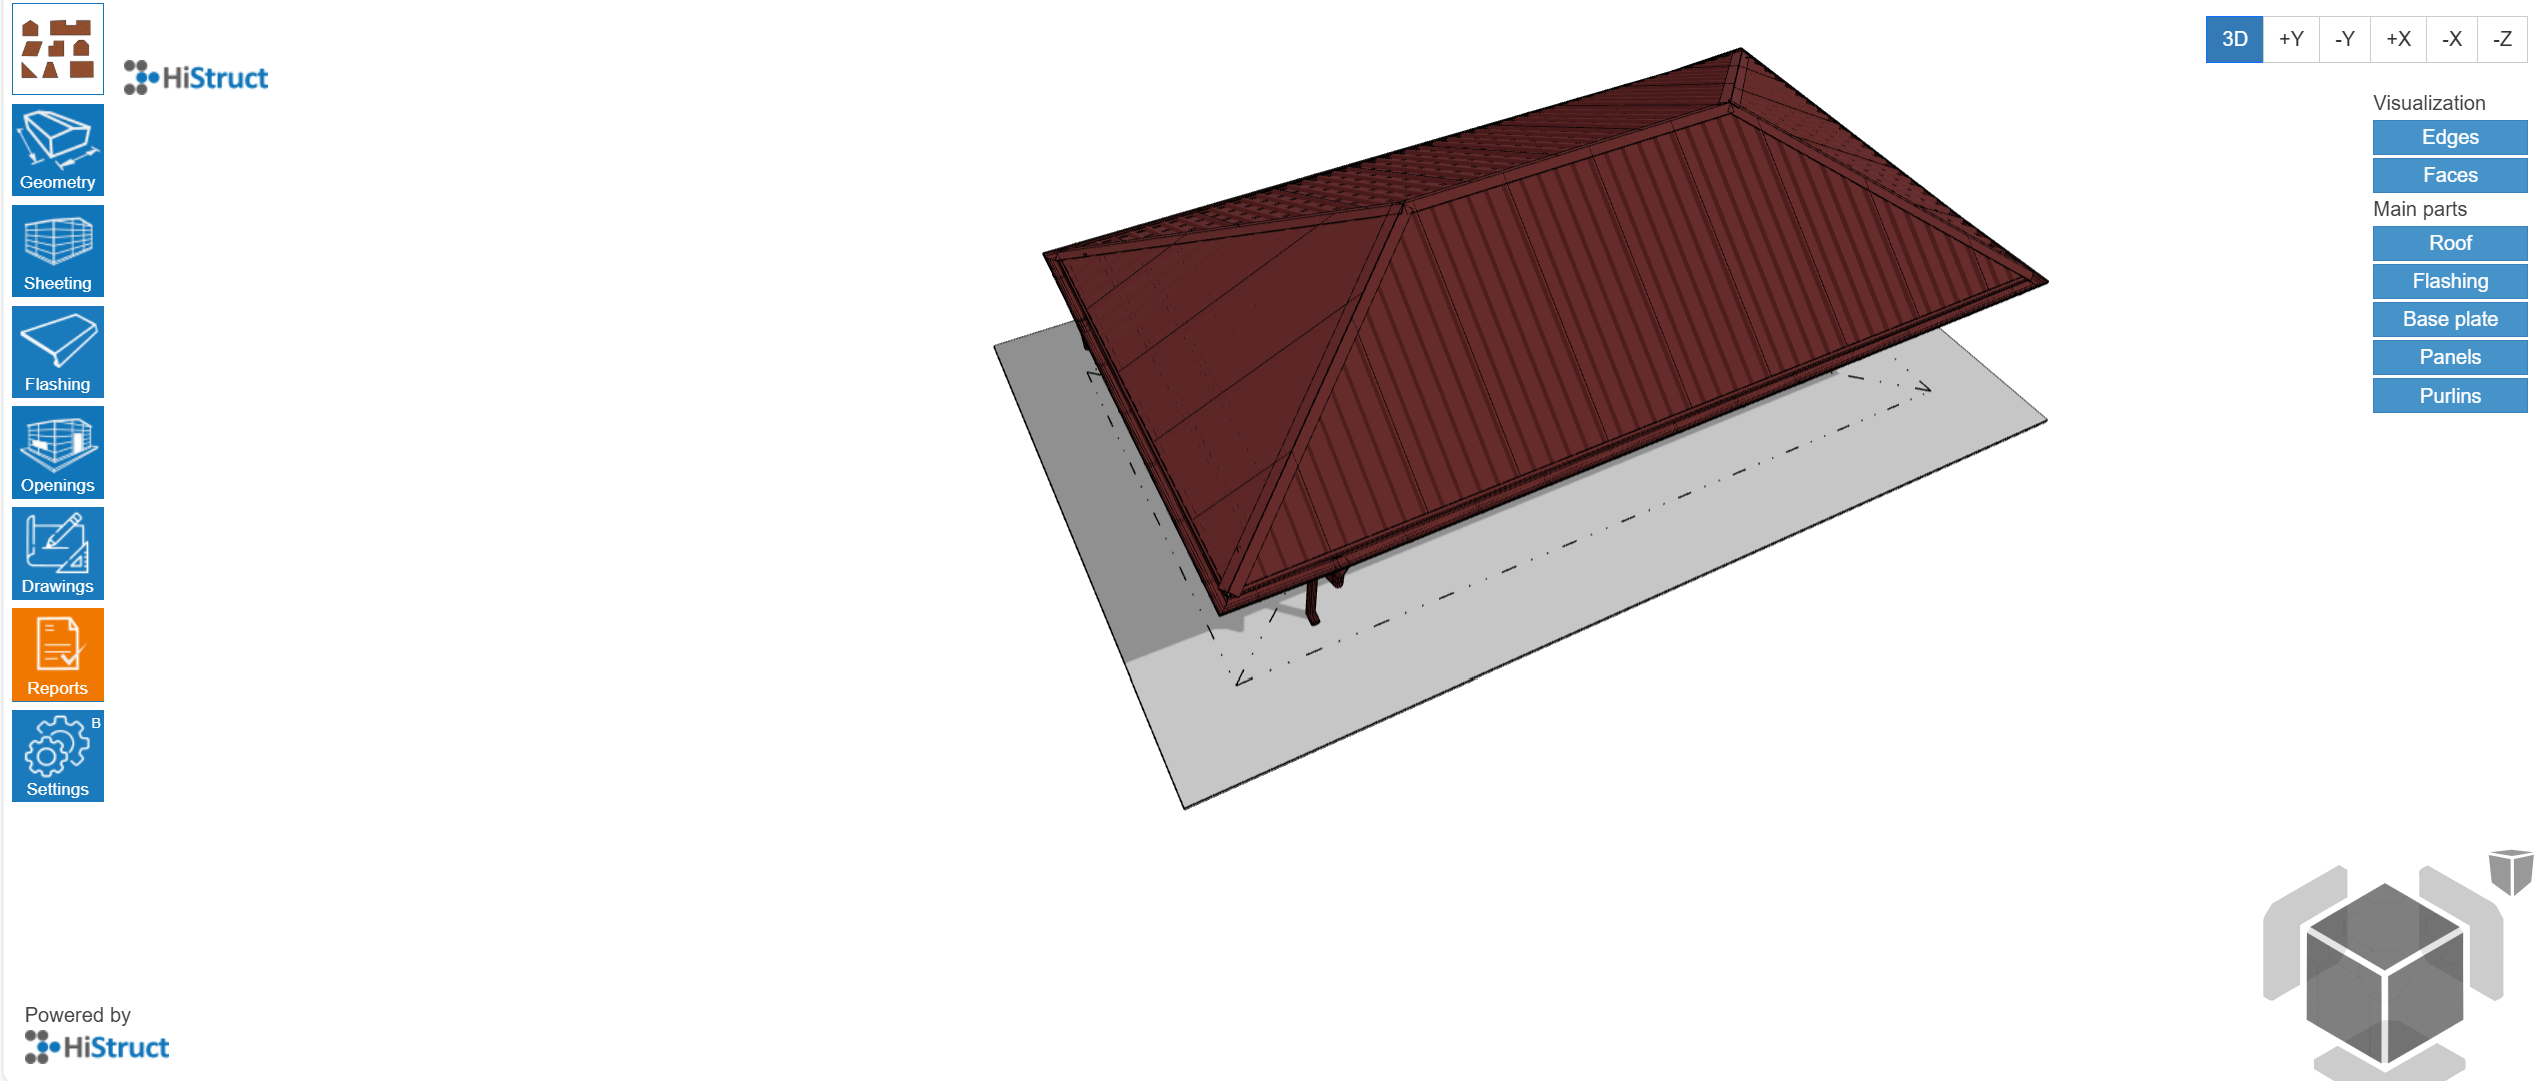
7. Final 3D model & reports
After completing all planes, you get a full 3D model including flashings and the gutter system. With one click, you can generate drawings, a bill of materials, layout plans and other outputs. From these materials, you can also easily prepare a professional price offer.
Flexibility and precision without compromises
This plane-by-plane roof modeling method gives you maximum flexibility, allowing you to design any roof shape in HiStruct, regardless of templates. Automatic generation of gutters and flashings saves time, reduces errors and makes this workflow ideal for complex and non-standard roofs.